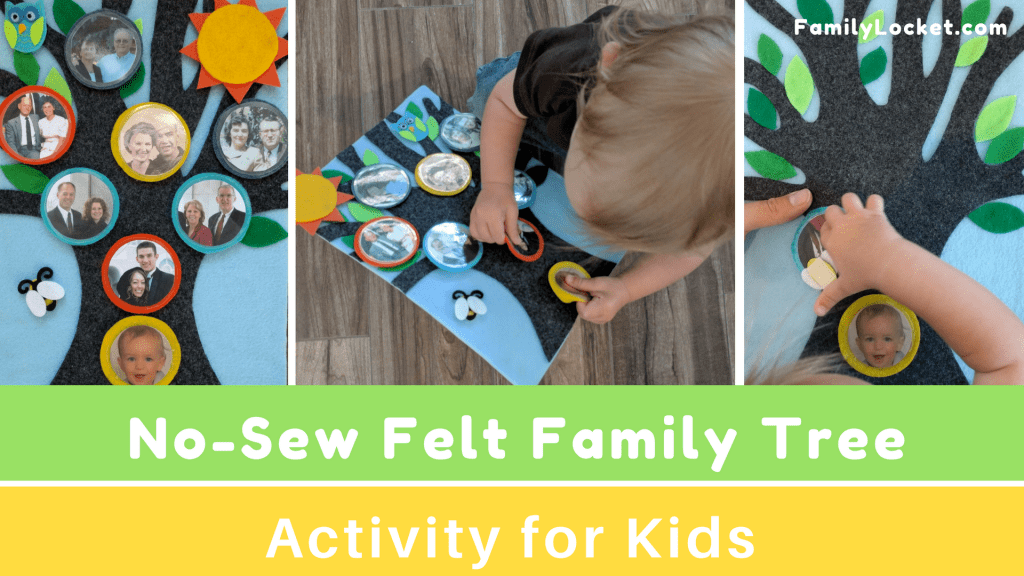
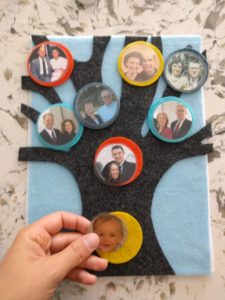
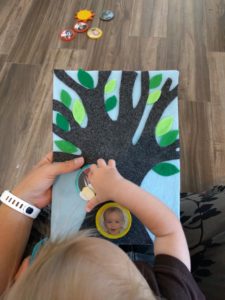
One of my favorite family tree creations for kids is this felt family tree. What could be more fun for a toddler than moving around pictures of the people he loves and sticking them to a tree?! What’s even better is that this project requires no sewing. All you need is felt, family pictures, glue, fabric scissors, a way to laminate your photos (even packing tape could work) and about an hour and a half.
The idea came about at mommy school, a play date for toddlers and preschoolers that my friend Katie hosts regularly. I volunteered to teach one of the lessons about family history. For the craft, Katie and I decided to help the kids make felt family trees with movable photos of the children’s family members. I loved the idea so much that I created several more for my own kids, nieces and nephews, and children of my friends.
This post contains affiliate links to items that I use when I make felt family trees! If you purchase the items, I receive a commission. I hope you find the recommendations useful.

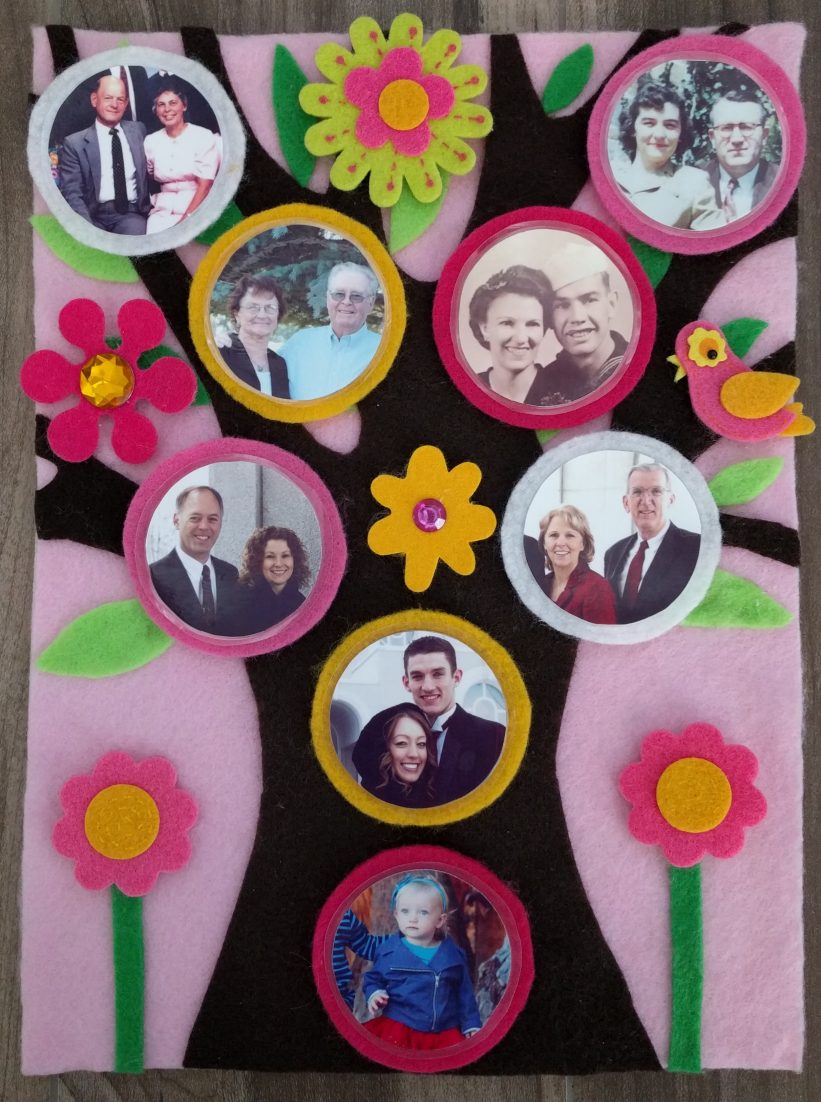


Summer Pink Flowers Apple Tree Fall Fox
The basic idea behind these family trees is that the pieces are attached to the background using Velcro (hook and loop fasteners). The rough side of the Velcro (the hook side) will stick to felt so you don’t need to use the soft side (loop). Children can practice putting their family tree together or just play with the pieces and move them around.
Tutorial
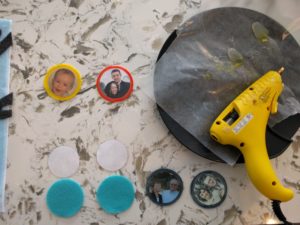
Cut and Laminate Photo Circles
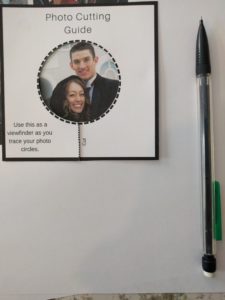
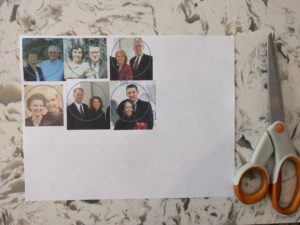
Print your photos on regular paper or cardstock for extra durability and use the photo guide in the pattern to help you cut out the photo circles.
-

- Photo cutting guide
-
- Trace
-
- Use PowerPoint to draw circles
-

- Cut out circles
Alternatively, you can use Word, PowerPoint, or some other program to help you create circles that are about 1 3/4 ” in diameter. Here is a PowerPoint file that you can use make circles of your photos to help you cut them out: Photo circles in powerpoint.
Laminate your photos using a laminator, Con-Tact Paper for lamination, or self adhesive laminating sheets (no laminator required). You can even use packing tape, but you should probably print the photos on cardstock if you choose this option. I use the Purple Cow Laminator and since the laminating sheets it came with ran out, I purchase Scotch Thermal Laminating Pouches to use with it and they work well.
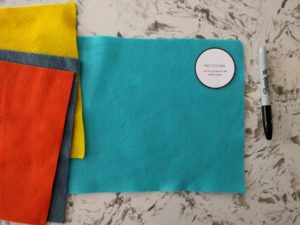
Choose Felt
Choose your felt colors. I’ve done brown, gray, tan, and black for the tree trunk, but I think my favorite is dark brown.
The background felt should be regular, soft craft felt. You’ll glue the soft felt to a stiff backing, like pellon stabilizer or thick cardstock like chipboard. If you use stiffened felt, the Velcro won’t stick to it, so don’t do that! Stiffened felt works well for cutting out intricate leaves or flowers, or even the felt circles (though there aren’t as many color choices in stiffened felt). But whatever you do, don’t use stiffened felt for the background or the tree trunk.
Trace and Cut Felt
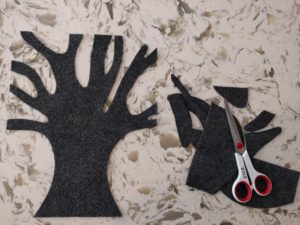
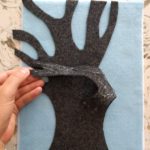
Cut out your tree and leaves from craft felt. The tree and leaves will be glued to your background felt. When you trace the pattern onto the 9×12 sheet of felt, you’ll need to extend the tree lines to the edge of the felt since the pattern is 8.5″ x 11″. Use fabric scissors to cut the felt. Regular scissors aren’t as sharp and don’t work as well.
-

- Cut out the pattern
-
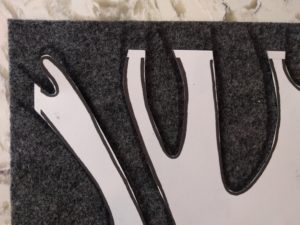
- Extend lines to edge
-
- Cut with fabric scissors
-

- Trace and cut out leaves
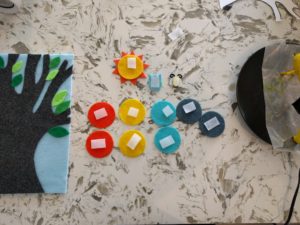
Cut out the colorful felt circles that will go behind each photo. I use regular felt (not stiffened), because the laminated photos will be glued to them and give them structure. You can use stiffened felt also, if you prefer that.
-
- Trace
-
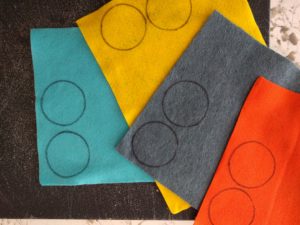
- Cut with scissors
-
- Or use a circle cutter
-
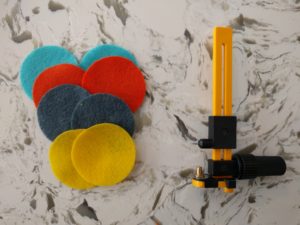
- 8 felt circles
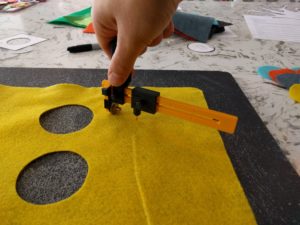
When I was cutting out a bunch of circles to make the trees into kits to sell at a craft fair, I decided to purchase a rotary circle cutter to speed up the process. It’s incredible how much faster I can cut circles with this thing: Olfa Rotary Circle Cutter. Here is a video of me using one so you can see how easy it is: using the rotary circle cutter.
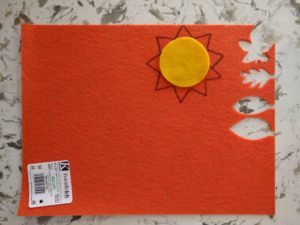
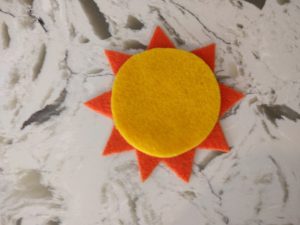
Cut out any extras (flowers, sun, apples, etc.). These extras work best if you use stiffened felt. I use orange stiffened felt for this sun to make it firm, not floppy. This helps kids move the pieces around more easily. I also purchased small felt stickers to add to the tree – like birds, flowers, animals, etc. Here are some cute felt birds from amazon.
Glue
Once the felt is cut and the photos are laminated, you can start gluing. I use a hot glue gun but you can also use craft or tacky glue. Beware with hot glue that you might burn your fingers! Some of these pieces are small. I usually burn the tips of my fingers a little bit so I got a low temp glue gun and it does help a little bit.
First, glue the background felt to the backing (chipboard or pellon) to make it stiff. Then glue the tree and leaves to the background. This is best accomplished by laying the tree down and placing it how you like it, then lifting up the sections of the tree and gluing those one at a time.
-
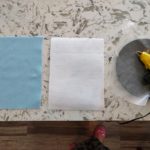
- Glue felt to backing
-
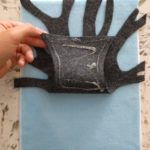
- Lift up sections
-
- Glue one section at a time
-

- Glue on the leaves
Next, lay out the laminated photo circles on the felt circles in the order that you will want them to be on the tree, to help you see how to distribute the different colors of felt circles. Then glue the photos to the felt circles. Cut strips of the rough side of Velcro (sew on works fine) and glue those to the back of the felt circles and extras (birds, felt stickers, sun, flowers, etc. – whatever you want the child to move and play with)
-
- Lay out the circles
-
- Glue photos to felt
-
- Glue Velcro to back
Final Touches
Last, trim the edges of the tree and the backing. The Pellon I used as a backing was sticking out behind the blue background so I gave it a little trim. The 9×12″ felt sheets can vary a little in size so I had to trim the edges of the tree from the background as well. Put your pieces on the tree and let the kids play!
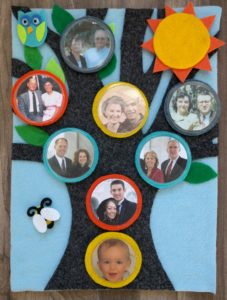

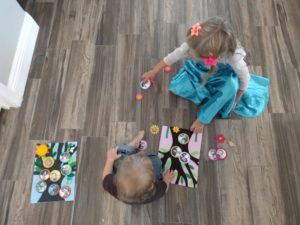
Play
My one-year-old liked holding everything and putting the photos in his mouth (which is why I laminate them!). My four-year-old likes taking everything off and putting it all back on again. When we are telling stories about a particular grandparent or great-grandparent, we use the family tree chart to show who we are talking about and how they are related to the children. We love them!

I’d love to see what you create! If you share it on Instagram or Facebook, tag me, @familylocket.


1 Comment
Leave your reply.