One of the best features on Family Tree is the capability to create a source for your ancestor. Although FamilySearch has billions of records in their database, you are still going to find records on other websites, in books, and in your paper files that you will want to add to the record of your ancestor.
How do you create a source for the death certificate you just received in the mail? What about the military pension record you found on a state archive website? Luckily for us, FamilySearch has a simple process and with a few tricks you can quickly create accurate, informative sources.
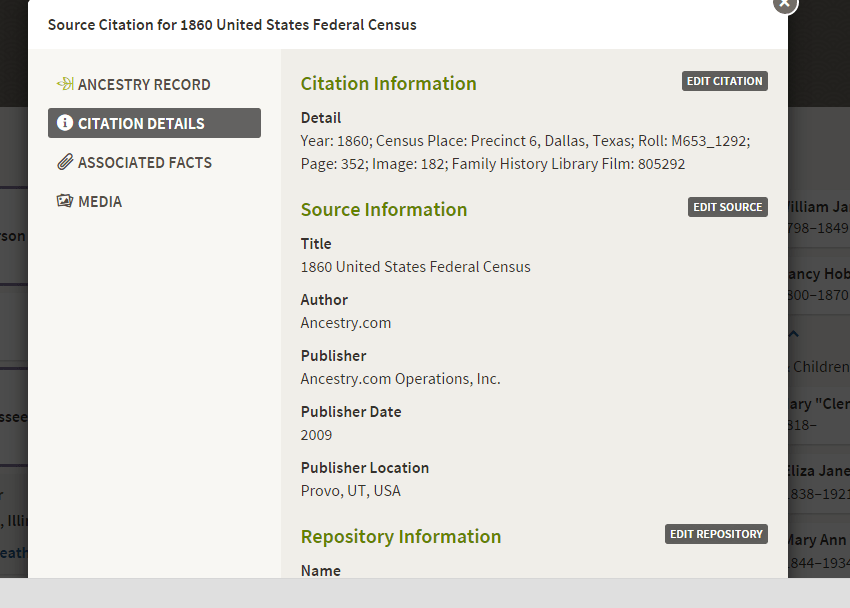
Let’s start with an 1860 census record. My ancestor, William Henderson Weatherford and his family are enumerated on the 1860 census in Dallas County, Texas. This census is already attached as a source on his details page, but when I go to look at the image I find that it is located on fold3.com. I don’t have a subscription to this site, so I can’t look at the image.
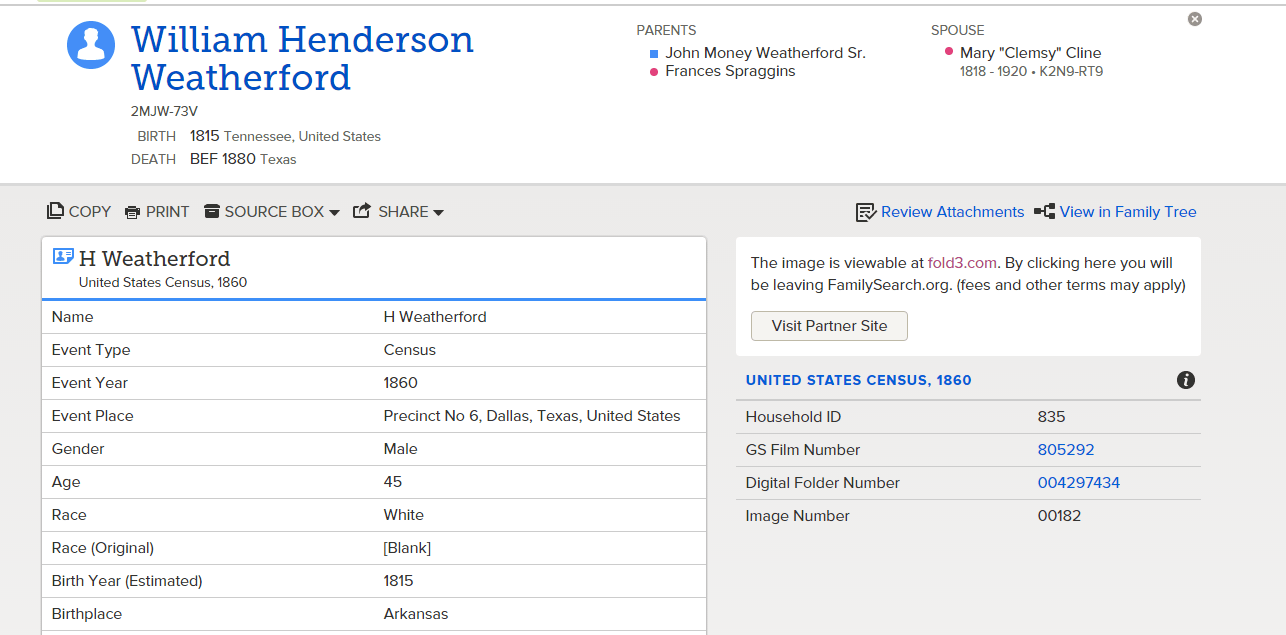
Why would I need to look at the image? Isn’t all the information indexed? The first rule of research is to always, always, always look at the image. The indexer didn’t know your family. They may have transcribed a name wrong; ages or even the gender could be incorrectly indexed. Most importantly, without looking at the image, you can’t see all the great information on the census form that isn’t indexed.
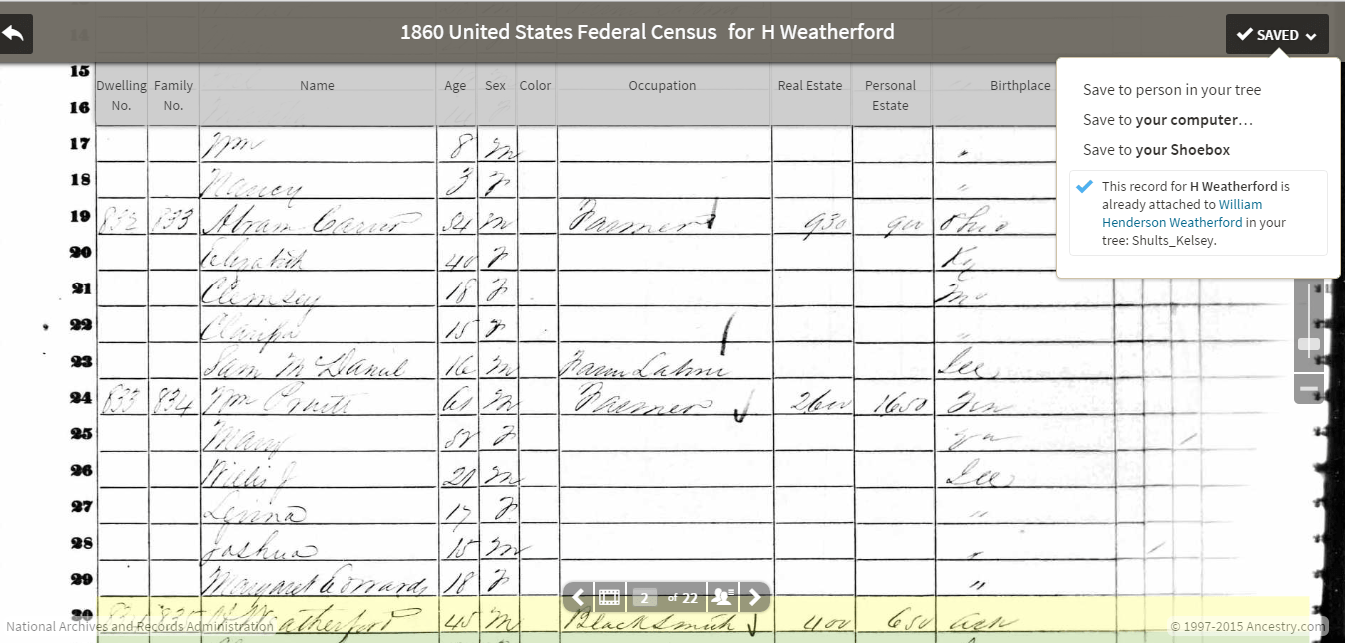
I have an Ancestry.com subscription, so I can locate the 1860 census record there for H. Weatherford and look at the image.
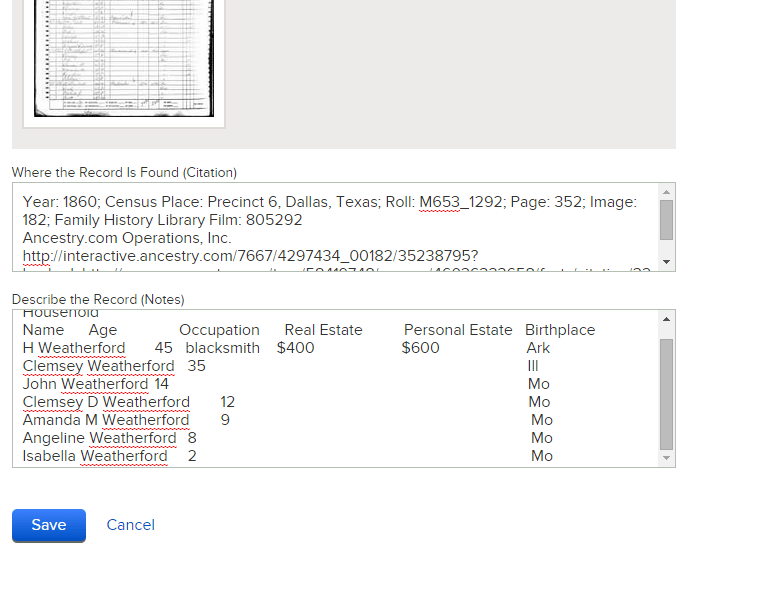
In this case, H. Weatherford’s occupation is missing from the transcription on FamilyTree. When I look at the image, I see he is a blacksmith and that his Real Estate (land value) is $400 and his Personal Estate (other possessions) is $650. Why is this important? Now that I know that he owned some land I can look for land records and tax records. I can also see his neighbors on the census and get an idea of who lived and worked in his community. I might even find some of the extended family living next door! All of which I would have missed if I didn’t look at the image.
So how do I remedy the situation in FamilyTree? Personally, I create my own source for the 1860 census, uploading the image so it is now visible to anyone. I’ll show you the steps for creating a source using the 1860 census image from Ancestry.com, but you can use the steps below to create a source using any document or image from a website. I highly recommended uploading the image to your source versus attaching a web link because links may be broken but your image will last. I still include the web url in the citation so I can easily find the web page again.
Saving the Image to your Computer
- I locate the 1860 census on Ancestry.com and pull up the image.
- I save the image to my computer. On ancestry this is located on the drop-down menu of the SAVE box in the upper right hand corner.
- I click on “Save to your computer”.
- Other websites will have a prompt somewhere on the screen to “Save to your computer.”
- If you can’t find any way to download the image, you can take a screenshot of the page with the Snipping Tool and save that image to your computer.
- A box with letters and/or numbers will appear at the bottom of the screen. The image is now downloaded to my computer with the name: 4297434_00182.jpg
- Now I need to find that image and give it a name I can recognize.
- I click on the file folder on the bottom left of the screen and look for the file named “Downloads”.
- I click on “Downloads” and look for the image icon with the file name of 4297434_00182.jpg
- I right click on the file name and select “rename”.
- I type in “H Weatherford 1860 US Census”. Be careful not to use any punctuation marks and be sure to keep the .jpg at the end.
- I hit “enter” to save the file name and now I’m ready to upload this image to my source.
Creating a Source
- On William Henderson Weatherford’s person page, I scroll to the bottom of details to find the sources.
- I click on “Create a New Source”
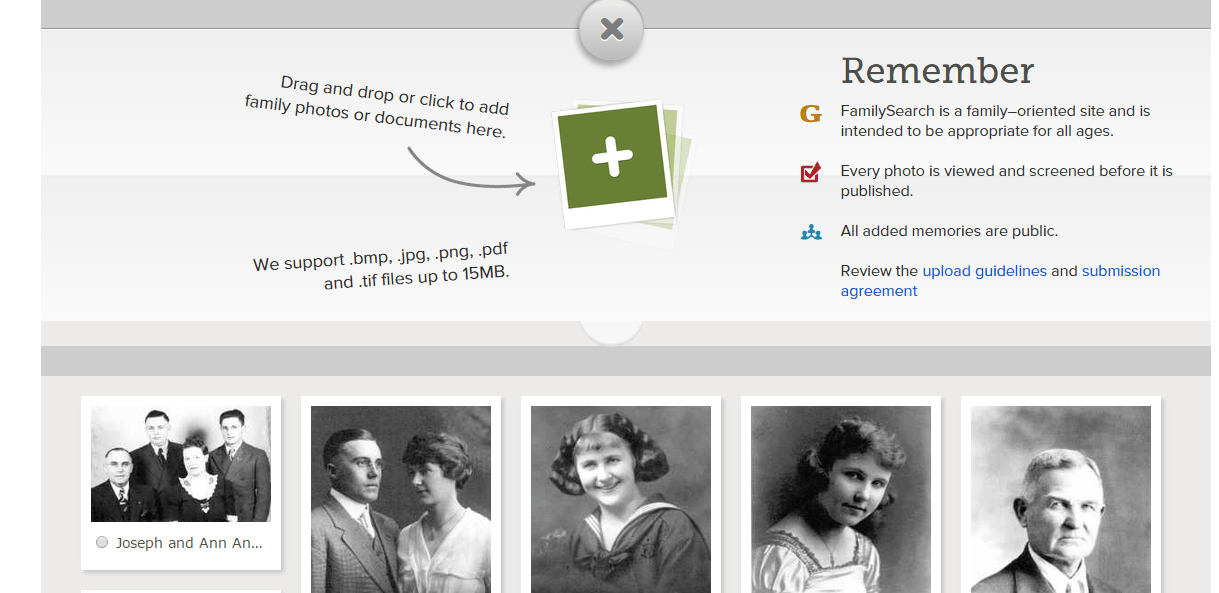
- I click in the circle next to “ADD A MEMORY”and the “ADD FILE” box appears

- I click on the green + and I am taken to a screen that shows all of the photos and documents that I have uploaded to FamilySearch. If I had previously uploaded the image of the 1860 census, I could now click in the circle to attach it to the source.
- I haven’t uploaded it yet, so now I click the green box again.
- Now I need to locate the image on my computer. It is still in downloads so I click on “Downloads”.
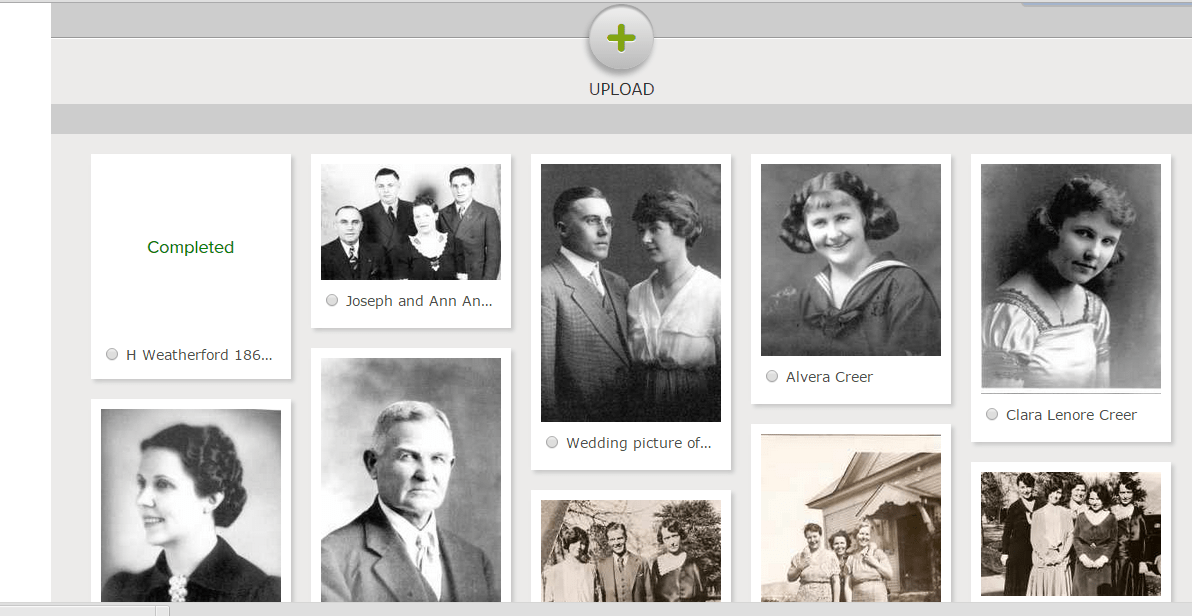
- I find my file named “H Weatherford 1860 US Census.jpg” and either drag it to the green box or double click on it to upload to FamilySearch
- It appears in a new box with the name at the bottom and “Completed” in the middle. If I hadn’t renamed it, it would forever be on this screen as 4297434_00182.jpg, which isn’t very descriptive.
- I click in the circle, then click the blue button “Attach to Source” in the top right hand corner.
- The image of the census now appears on the “Create a Source” page. I can’t click on it to enlarge, but I will be able to do that once the source is saved.
- I create a title for my source, “H Weatherford family in the 1860 United States Federal Census”. When I create a source for a census, I use the head of household name and include “family” because I am going to attach this source to each family member listed.
- I copy and paste the citation details from Ancestry.com. I also copy and paste the url for the image into the citation.
- I copy and paste the household members from Ancestry.com and add the extra information that I found on the image. Be careful to transcribe the actual information found on the image, even if you know it is not correct.
- I click the blue SAVE button and my source is complete!
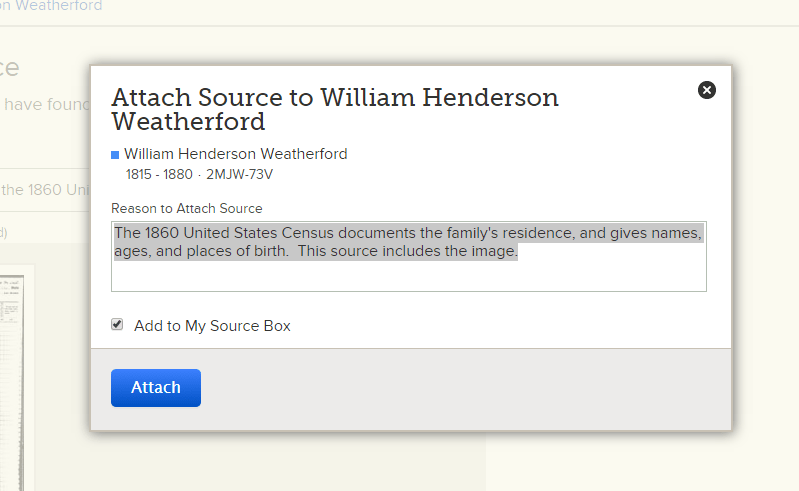
- FamilySearch now wants me to explain why I attached this source so I type: “The 1860 United States Census documents the family’s residence, and gives names, ages, and places of birth. This source includes the image.”
- I make sure “Add to My Source Box” is checked, then click the blue ATTACH button
- My source is now complete and will show up on William Henderson Weatherford’s details page. Occasionally FamilySearch will hang up on the attaching process and the icon spins and spins. When this happens I exit out of the page, go to my ancestor and view the source.
- The source that I created has the photo icon next to it, indicating that it has an image attached. Clicking on the icon takes me directly to the image of the census. Clicking on the blue title takes me to my newly created source.

Attaching the source to other family members
- Now that I’ve created this source, I can easily attach it to each member of the family listed on the census.
- I like to do this in the order they are listed on the census so I don’t forget where I am in the family. I start with the wife in the household, Clemsey. I click on her person page and scroll down to her sources.
- I click on “Attach from Source Box”. This takes me to “My Source Box” which is all of the sources that I have added to FamilyTree. The new source that I created is at the top.
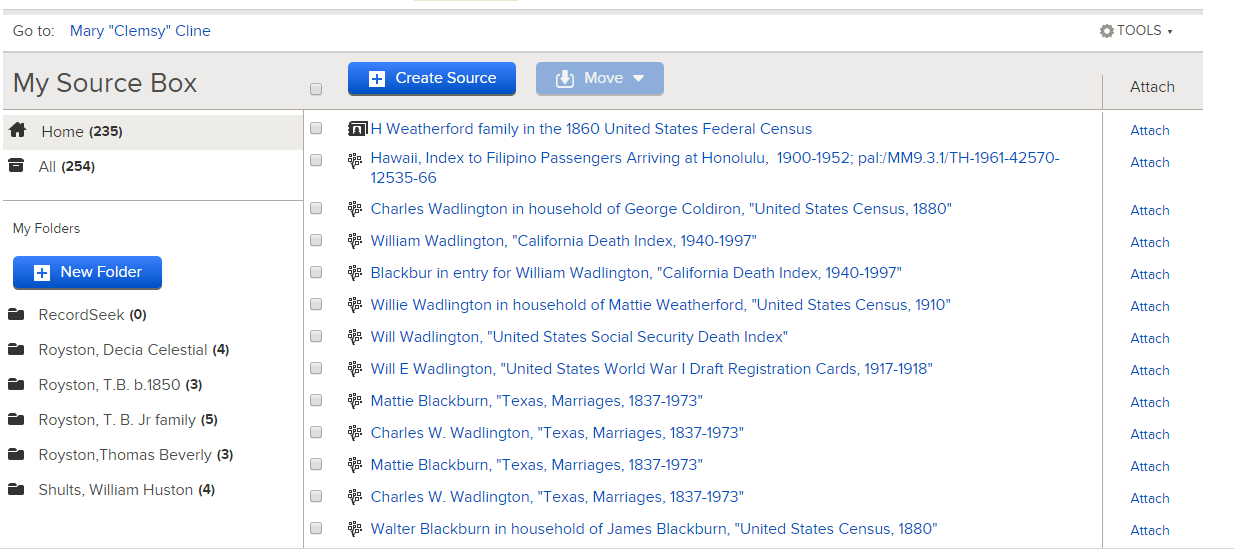
- I click the “Attach” button to the right of my source and enter my reason for attaching: “Clemsey listed on the 1860 census with H Weatherford and children.”
- I click the blue “Attach” button again to finish attaching the source to Clemsey.
- I repeat this step with each of the family members listed on the census.
A final note
This process might seem tedious at first, especially as you are learning the process, but it gets easier and faster the more you practice. Creating an accurate source and adding the image for all to view is a great way of sharing what you have found with the worldwide family history community.


4 Comments
Leave your reply.